A Marketer's HTML/CSS Journey: Let's Call It 'Starting HTML' and Read It as 'Trial and Error'
In the previous post, we explored why HTML/CSS and JavaScript are important for marketers — especially digital marketers — and looked at the first steps to getting started.
So now, with our books, Chrome, and code editor all ready to go, let's begin studying.
The truth is, as marketers who are neither developers nor web designers, we don't have that many study options available to us. Sure, you could invest money and time to enroll in a coding bootcamp or find other ways, but unless there's a clear professional need and justification, how many busy marketers would actually make that choice? (And honestly, there's absolutely no need to go that far.)
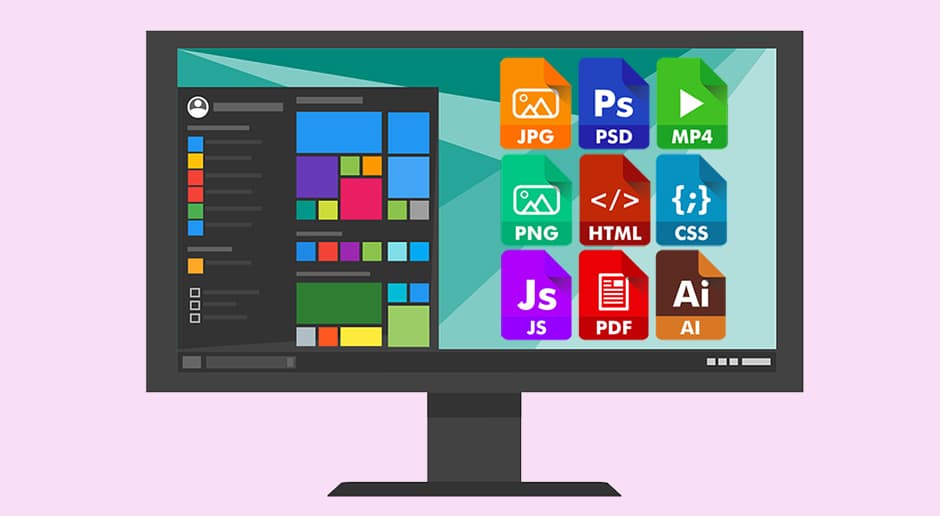
Before we get into the studying itself, let me draw an analogy that might hit close to home. Think about how most office workers these days can use Photoshop and Illustrator (and even Premiere). Many of them didn't know these tools at all but learned them out of workplace necessity. If you've ever picked up Photoshop or Illustrator that way, understanding HTML/CSS follows a very similar path. Of course, it would be great to learn these tools in-depth at a professional school, but if we just need enough skill to get the job done — like those of us who aren't designers — books, YouTube, and search engines have worked perfectly fine, haven't they?
In that spirit, the three most suitable study methods for us when it comes to HTML/CSS are: books, various video lectures, and endless trial-and-error through self-study. So how do we study with these?
First, just like when we learned Photoshop and Illustrator, we prepare the necessary programs and books, then start studying on our own with one main textbook and the many free online lectures and videos available.
1. Study the basic HTML tags.
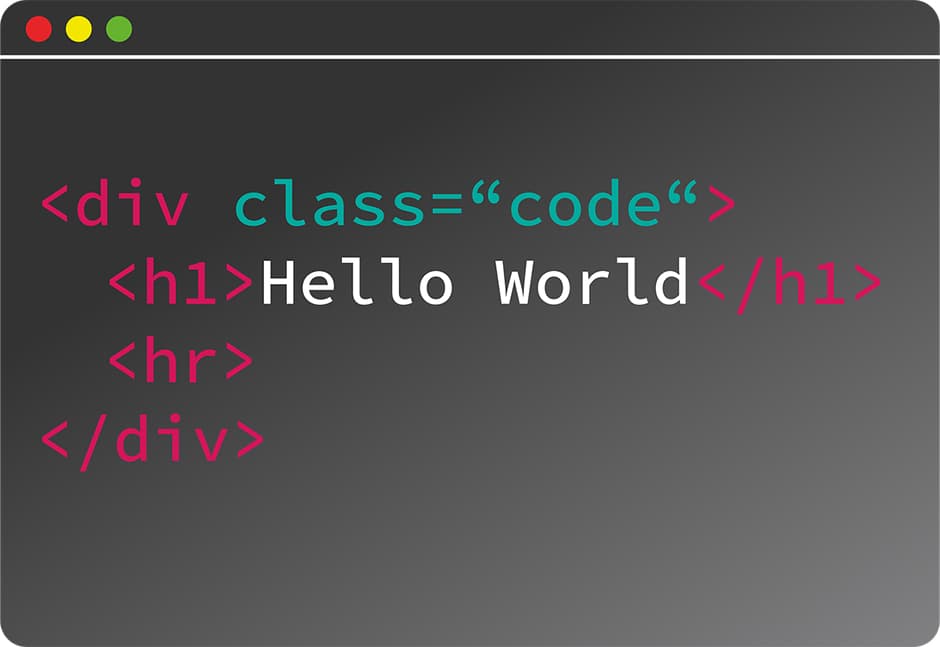
The book will introduce you to HTML's basic terminology and kick off your HTML studies in earnest. Think of this stage as learning the alphabet and basic words like Apple, Banana, and Cat — except here, you're learning HTML tags, attributes, and other elements. It goes without saying, but at this point when everything is confusing and nothing makes sense, you absolutely must follow the book step by step. The best study method during this most bewildering phase is simply "get your hands dirty and just do it." Don't just read the code the book shows you with your eyes (it won't make sense yet anyway) — type every single thing into your editor and run it in the browser.
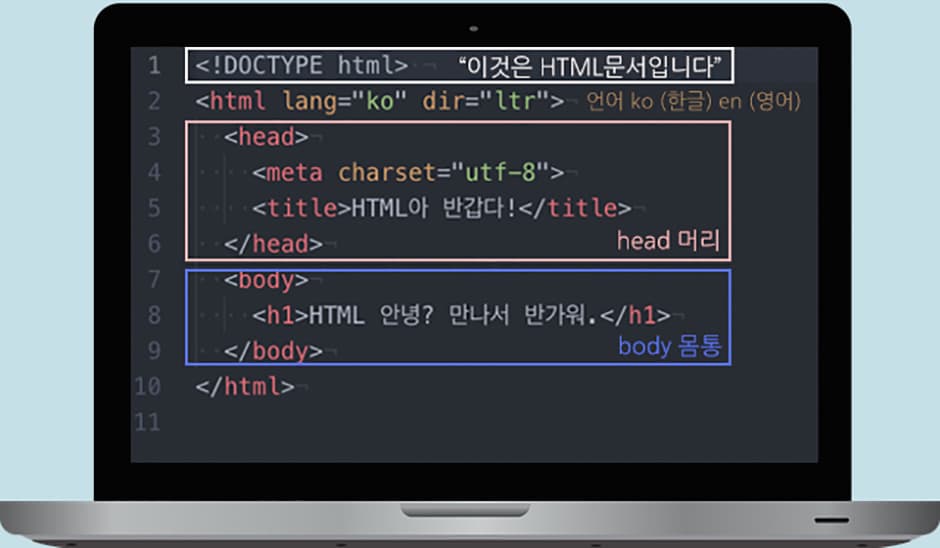
<!DOCTYPE html>
<html lang="en" dir="ltr">
  <head>
    <meta charset="utf-8">
    <title>Hello HTML!</title>
  </head>
  <body>
    <h1>Hey HTML, nice to meet you.</h1>
  </body>
</html>
No need to worry about memorizing all of that. Editor programs provide auto-completion, so as you practice following the book, the editor will automatically generate the basic structure and framework, and offer auto-complete suggestions for whatever tags you're trying to write.
2. Study the structure of an HTML page.
As you follow the book's guidance and practice various tags step by step — h1 through h6 tags, p tags, li (ul, ol) tags, table tags, img tags — you'll gradually start to see the structure of an HTML page. You might think the order is wrong, that you should learn the structure first before practicing tags, but in my experience as a complete beginner, just doing it blindly and slowly having your eyes open to the structure tends to work better. (Speaking from personal experience here.)
The structure of an HTML page starts with !DOCTYPE html, which declares that this is an HTML document, sets the language, and then consists of a head and a body. When writing HTML, you must always have matching pairs: <tag> (opening tag) and </tag> (closing tag). Don't forget to open and close them! After typos, this is the most common mistake beginners make. There are also other elements like style and script that go in specific places, but you'll learn about those as you study.
3. Let's move on to CSS. Study selectors, style properties, and CSS.
'Other web pages look amazing, but why do all my practice examples look like broken web pages?'
As you work through various tags and examples in HTML, you'll eventually get frustrated wondering how long you'll keep making such ugly-looking pages. Don't worry. The truth is, even Naver (Korea's biggest portal) originally looks like that underneath.
That's Naver's bare face? Then what's the Naver page we normally see? Well, it's time for the next level of headache. Because now it's time to style the page with CSS.
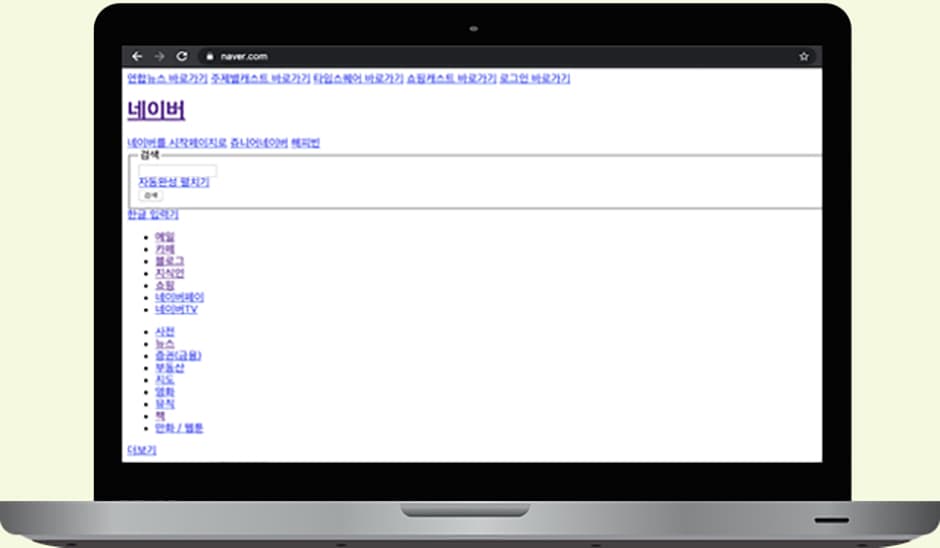
When you start studying CSS, the concept of selectors appears and things get a bit more complex.
- Selectors?
- id? class?
- Parent selectors? Descendant selectors? Child selectors?
A time of confusion has arrived where nothing makes sense and everything seems complicated.
CSS is essentially the interior design for the HTML building whose framework we've constructed. When you're doing interior design, you don't use the same wallpaper, flooring, and furniture throughout the entire house. (Imagine your bathroom with the same wallpaper and vinyl flooring as your living room. Horrifying.) Web pages are the same way. CSS selectors exist to divide and specify each area so you can apply the right design to each section.

So what exactly are selectors? Let me explain based on what I've figured out as a beginner. Selectors literally exist to "select" a specific location, area, or section.
For example:
<interior>
bathroom { tiles, bathtub, mirror }
kitchen>countertop { tiles, stove, marble-floor }
kitchen>sink { window, tiles, faucet }
living-room { white-wallpaper, hardwood-floor, deco-tiles }
</interior>
Think of it this way: you designate each area and then "select each one separately" to apply the appropriate styles. That's the concept in a nutshell.
The study method for CSS is no different. Understand the overall concepts like the above, then study through countless examples and trial-and-error.

4. Build your own HTML documents by adapting examples.
No matter how simple or rough the examples might seem, try building every single example the book provides, and then go further by adapting them to create your own. This kind of "project-based" studying is really important when learning HTML/CSS/JavaScript. "Project-based" sounds grand, but it simply means treating the book's examples and your own creations as individual projects, stacking them up like building blocks as you learn.
Before the landing page (single-page website) exercise I'll suggest as a study method in the next post, do plenty of practice creating your own examples. Your collection of examples will pile up and give you more opportunities for hands-on trial-and-error, leading to intuitive understanding of HTML and CSS.
5. When something is hard to understand, look up video lectures and other resources.

As interest in coding has grown, expensive bootcamps and courses have flooded the market — but at the same time, there are plenty of great free lectures available. Some people might prefer studying along with video lectures from the start, but for HTML/CSS, I recommend studying steadily with a book and only watching lectures selectively for the parts that are hard to understand. Here are some helpful resources:
YouTube lectures provided with your book (they might be somewhat lacking, but these days most books come with the author's video lectures on YouTube)
- Codecademy
- freeCodeCamp (plenty of free content)
- Google searches (there are tons of great articles on personal blogs and various platforms)
That's our look at studying HTML/CSS. In the end, it boils down to "read the book, follow along, and just keep at it" — which might sound irresponsible, but there really is no other way. Just as they say language acquisition, like riding a bike or swimming, belongs to the realm of practice, the same applies here.
Articles like this are only useful for setting study guidelines — just for that moment. No matter how many articles you read, books you study, or lectures you watch, without taking action on the next step, nothing will change.
In the next post, we'll look at practical exercises to apply the skills you've built through all that trial-and-error. Even if you feel like you haven't improved at all, that's okay. I never once felt like I was getting better either, but looking back, the one thing I'm left with is the belief that persistent effort never betrays you.